
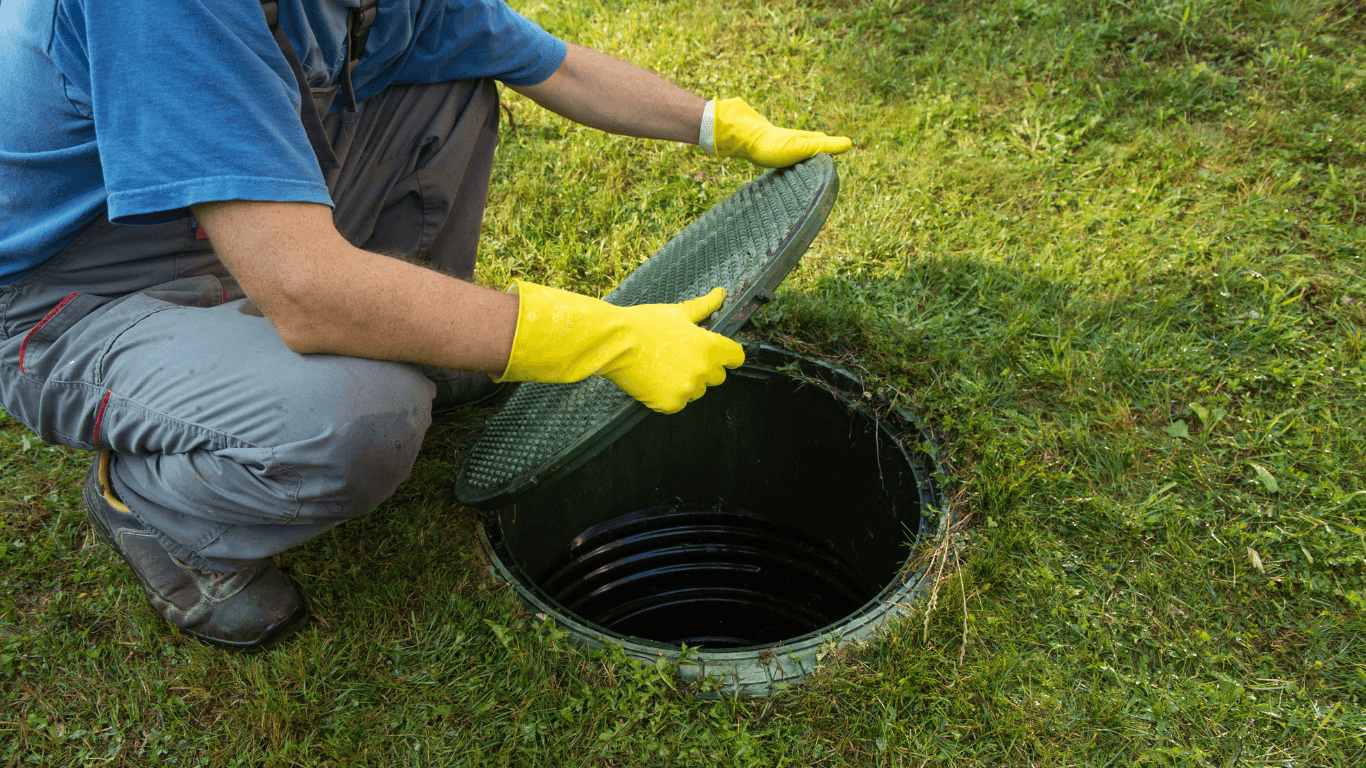
A septic inspection is not a glance at a lid. Done properly it is a sequence of checks that starts with paperwork, moves through the tank and the leaching bed, and ends with a written report you can take into a negotiation. This guide walks through each step as we do it on a rural property in Southern Ontario, so you know what to expect and what a thorough inspection should cover.
Written by John Hansen, Registered Home Inspector, Past President of the Ontario Association of Home Inspectors, WETT certified, BCIN qualified for septic systems. Inspecting since 2011.
At a glance
- Review the records: permits, as-built drawing, pumping and service history, and the Ontario Building Code Part 8 class of system.
- Locate the tank, the distribution box, and the leaching bed, and confirm where the well and property lines sit relative to them.
- Have the tank pumped with the inspector present so the baffles, walls, effluent filter, and inlet and outlet can be seen.
- Check the tank interior for cracks, root entry, failed baffles, corrosion, and groundwater infiltration.
- Open the distribution box and check that effluent is spread evenly to each run.
- Walk and probe the leaching bed for saturation, surfacing effluent, odour, settlement, and vegetation that signals trouble.
- Run a hydraulic load test from inside the house and watch how the system accepts and distributes the flow.
- Measure setbacks and compare the system size to the number of bedrooms and fixtures in the house.
- Deliver a written, photographed report that separates failures from maintenance items and estimates remaining life.
Step 1: Records and history
Every septic inspection should begin before the lids come off. In Ontario, private sewage systems are governed by Part 8 of the Ontario Building Code and permitted by whichever principal authority covers the property: the municipality, the public health unit, or in parts of Southern Ontario a conservation authority. The permit file, when one exists, tells us the class of system, the design flow it was approved for, the tank size, the bed type, and often an as-built sketch with measurements from the house. We ask the seller for it and, where the file is thin, request it from the authority.
Service history matters just as much. Pumping receipts show how often the tank has been emptied, and a hauler’s note about heavy sludge, a collapsed baffle, or a bed that sent water back when the tank was pumped is the kind of detail that changes the inspection. We also ask the simple questions: how many people live in the house, whether there has ever been a backup or a wet patch, and whether anything has been replaced.
Step 2: Locating the system
A surprising number of rural owners cannot say exactly where their leaching bed is. We locate the tank by following the building drain, probing, and using the as-built drawing if there is one, then find the distribution box and trace the runs. At the same time we note the well, any neighbouring wells, the property lines, watercourses, and the driveway, because setbacks are part of the evaluation and because a bed under a parking area has usually been compacted.
If the tank lids are buried, they need to be dug out before the inspection. Most sellers do this themselves or have the pumping contractor do it. Risers brought to grade are an inexpensive upgrade that make every future service visit easier.
Step 3: Pumping and the tank interior
The tank is pumped during the inspection, not days before. With the inspector present, the hauler empties the tank and we can see the walls, the floor, the inlet and outlet baffles or tees, and whether water runs back into the tank from the outlet when it is lowered. Water returning from the bed is one of the clearest signs of a saturated or failing leaching bed and it is invisible if the tank was pumped last week.
Tank interior checklist
- Tank material and condition: concrete for cracking, spalling, and exposed rebar; polyethylene or fibreglass for deformation; steel for rust, which usually means the tank is near the end of its life.
- Inlet and outlet baffles or tees present, intact, and attached. A missing outlet baffle lets solids into the bed.
- Effluent filter on the outlet: present, cleaned, and the right type. Not every older tank has one, but newer installations require it.
- Liquid level at the outlet invert before pumping. A level above the outlet means the bed is not accepting flow; a level below it means the tank is leaking.
- Scum and sludge depth relative to the tank volume, which tells us whether the pumping interval has been right for the household.
- Root intrusion, groundwater seeping in through joints, and the condition of the lids, risers, and gaskets.
- For two-compartment tanks, the transfer opening between compartments is clear.
Step 4: Distribution box and pump chamber
Between the tank and the bed on a conventional system sits the distribution box, a small chamber that splits effluent between the runs. We open it, check that it is level and that each outlet carries a share of the flow, and look for solids that should have stayed in the tank. A tilted or clogged box sends everything down one run, which is why some beds fail on one side while the other half has never been used.
Raised beds, filter beds, and systems with a tertiary treatment unit usually have a pump chamber instead of or in addition to a distribution box. We run the pump, confirm the float switches and the high-level alarm work, check the electrical connection, and inspect the chamber for the same problems as the tank. If the system has a treatment unit such as a biofilter or an aerobic unit, we confirm the maintenance contract that Ontario requires for most of these units is in place and current.
Step 5: The leaching bed
The bed is where most septic money is spent when things go wrong, so it gets the most time. We walk the full area and the land downslope of it, probe to find the runs and judge how wet the stone and soil are, and look for effluent at the surface, grey or black staining, sewage odour, soft or spongy ground, and settlement over the runs. Lush, dark grass over the bed in a dry August is a classic indicator that effluent is near the surface. So is a bed that is noticeably wetter than the lawn around it.
We also evaluate what has been done to the bed. Trees and large shrubs rooting into the runs, a shed or a pool built over it, a driveway or parking pad, livestock, and tile drains cut through the area all shorten its life. On a raised or filter bed we check the sand mantle and the side slopes for erosion and for effluent breaking out at the toe.
Step 6: Hydraulic load test
With the tank and bed in view, we run water from inside the house for a sustained period and watch what happens: how quickly the flow arrives at the tank, whether the distribution box floods, whether water surfaces on the bed, and whether a pump chamber keeps up. The test is sized to the house and the weather and is not meant to overload a healthy system; it is meant to show how the system behaves under a normal day’s use rather than the light load of a vacant listing. A dye test is added when we need to confirm where effluent is going.
Step 7: Setbacks, sizing, and the house
The Ontario Building Code sets minimum distances from the tank and the bed to wells, property lines, buildings, and surface water, and sets the bed size from the daily design flow, which depends on the number of bedrooms and fixtures and on the soil. We measure what we can and compare it with the permit. A system approved for a three-bedroom bungalow that now serves a five-bedroom house with two more bathrooms is undersized even if it works today. Setbacks to the well are the most important of all, because they protect the drinking water, which is why we recommend inspecting the well on the same visit.
Step 8: The report
You receive a written report with photographs the same day or the next morning. It describes the system, lists what was inspected and what could not be seen, separates items that have failed from items that are maintenance, and gives an opinion on the remaining service life and on what a repair or replacement would involve. It is written so that a lawyer, a lender, or a septic contractor can act on it, and we go through it with you by phone if you have questions.
What a septic inspection does not include
- Excavation of the bed or opening of pipes beyond the accessible lids and boxes.
- A guarantee of future performance. A bed can be working today and fail after a wet spring or a larger household.
- A permit or a design. If the system needs replacement, that comes from a licensed designer or installer and the principal authority.
- Plumbing inside the house, which is covered by the home inspection.
How to prepare for the inspection
Before the inspector arrives
- Gather the permit, as-built drawing, pumping receipts, and any maintenance contract for a treatment unit.
- Locate and expose the tank lids and the distribution box lid. Have a pumping truck booked for the inspection time if we have asked for one.
- Do not have the tank pumped in the days before the inspection. An empty tank hides the liquid level and the backflow from the bed.
- Use water normally in the week before the inspection. A vacant house that has had no flow for a month will make a weak bed look fine.
- Make sure the power is on for any pump or alarm and that the basement or crawl space where the building drain leaves the house is accessible.
- Keep vehicles off the bed area and note anything you know about its history, including wet patches and the date of the last pump-out.
Book a septic inspection
Detailed assessments of septic systems to ensure proper function, compliance, and longevity for rural and residential properties.
FAQs
How long does a septic inspection take?
Allow about two hours on site for a conventional tank and bed, longer for a raised bed, a treatment unit, or a property where the system has to be found first. The pumping truck is usually on site for part of that time.
Does the tank have to be pumped for the inspection?
For a purchase, yes. The interior of the tank, the baffles, and any backflow from the bed can only be assessed with the tank emptied while the inspector is present. If the tank was pumped recently the inspection can still be done, but the report will say the tank interior was not evaluated under normal operating level.
Is a septic inspection required in Ontario when a house is sold?
Not by the province. Some municipalities and source-water protection areas run mandatory re-inspection programs, and some lenders and insurers ask for one. For a buyer the practical reason is cost: a replacement leaching bed is one of the largest single repairs on a rural property and the inspection is the only way to price that risk before conditions are waived.
Can the septic and the well be inspected on the same visit?
Yes, and we recommend it. The setback between them and the water test results are relevant to both reports, and one visit is less disruptive for the seller.